3 Web Frameworks to Use With Python
 Written by:
Nathan Rosidi
In this article, we discuss three web frameworks – django, FastAPI, and Flask – for building and deploying web apps in Python. They make data science life easier.
After covering data collection, data analysis & ML, and data visualization libraries in Python, it’s time we covered the three main web frameworks in Python. By using these frameworks, you will turn your projects into global environments.
This is the last part of our series, covering the top Python libraries for data science in 2023.
Web Frameworks in Python
The web frameworks are sets of libraries and tools that help developers build and deploy web applications with ease. They provide a structure for constructing web apps and often include libraries for tasks like routing, authentication, and database access.
Let’s now talk about these libraries in detail. Once you understand the structure, we will show you a real-life example in Flask.
Starting with django.
django

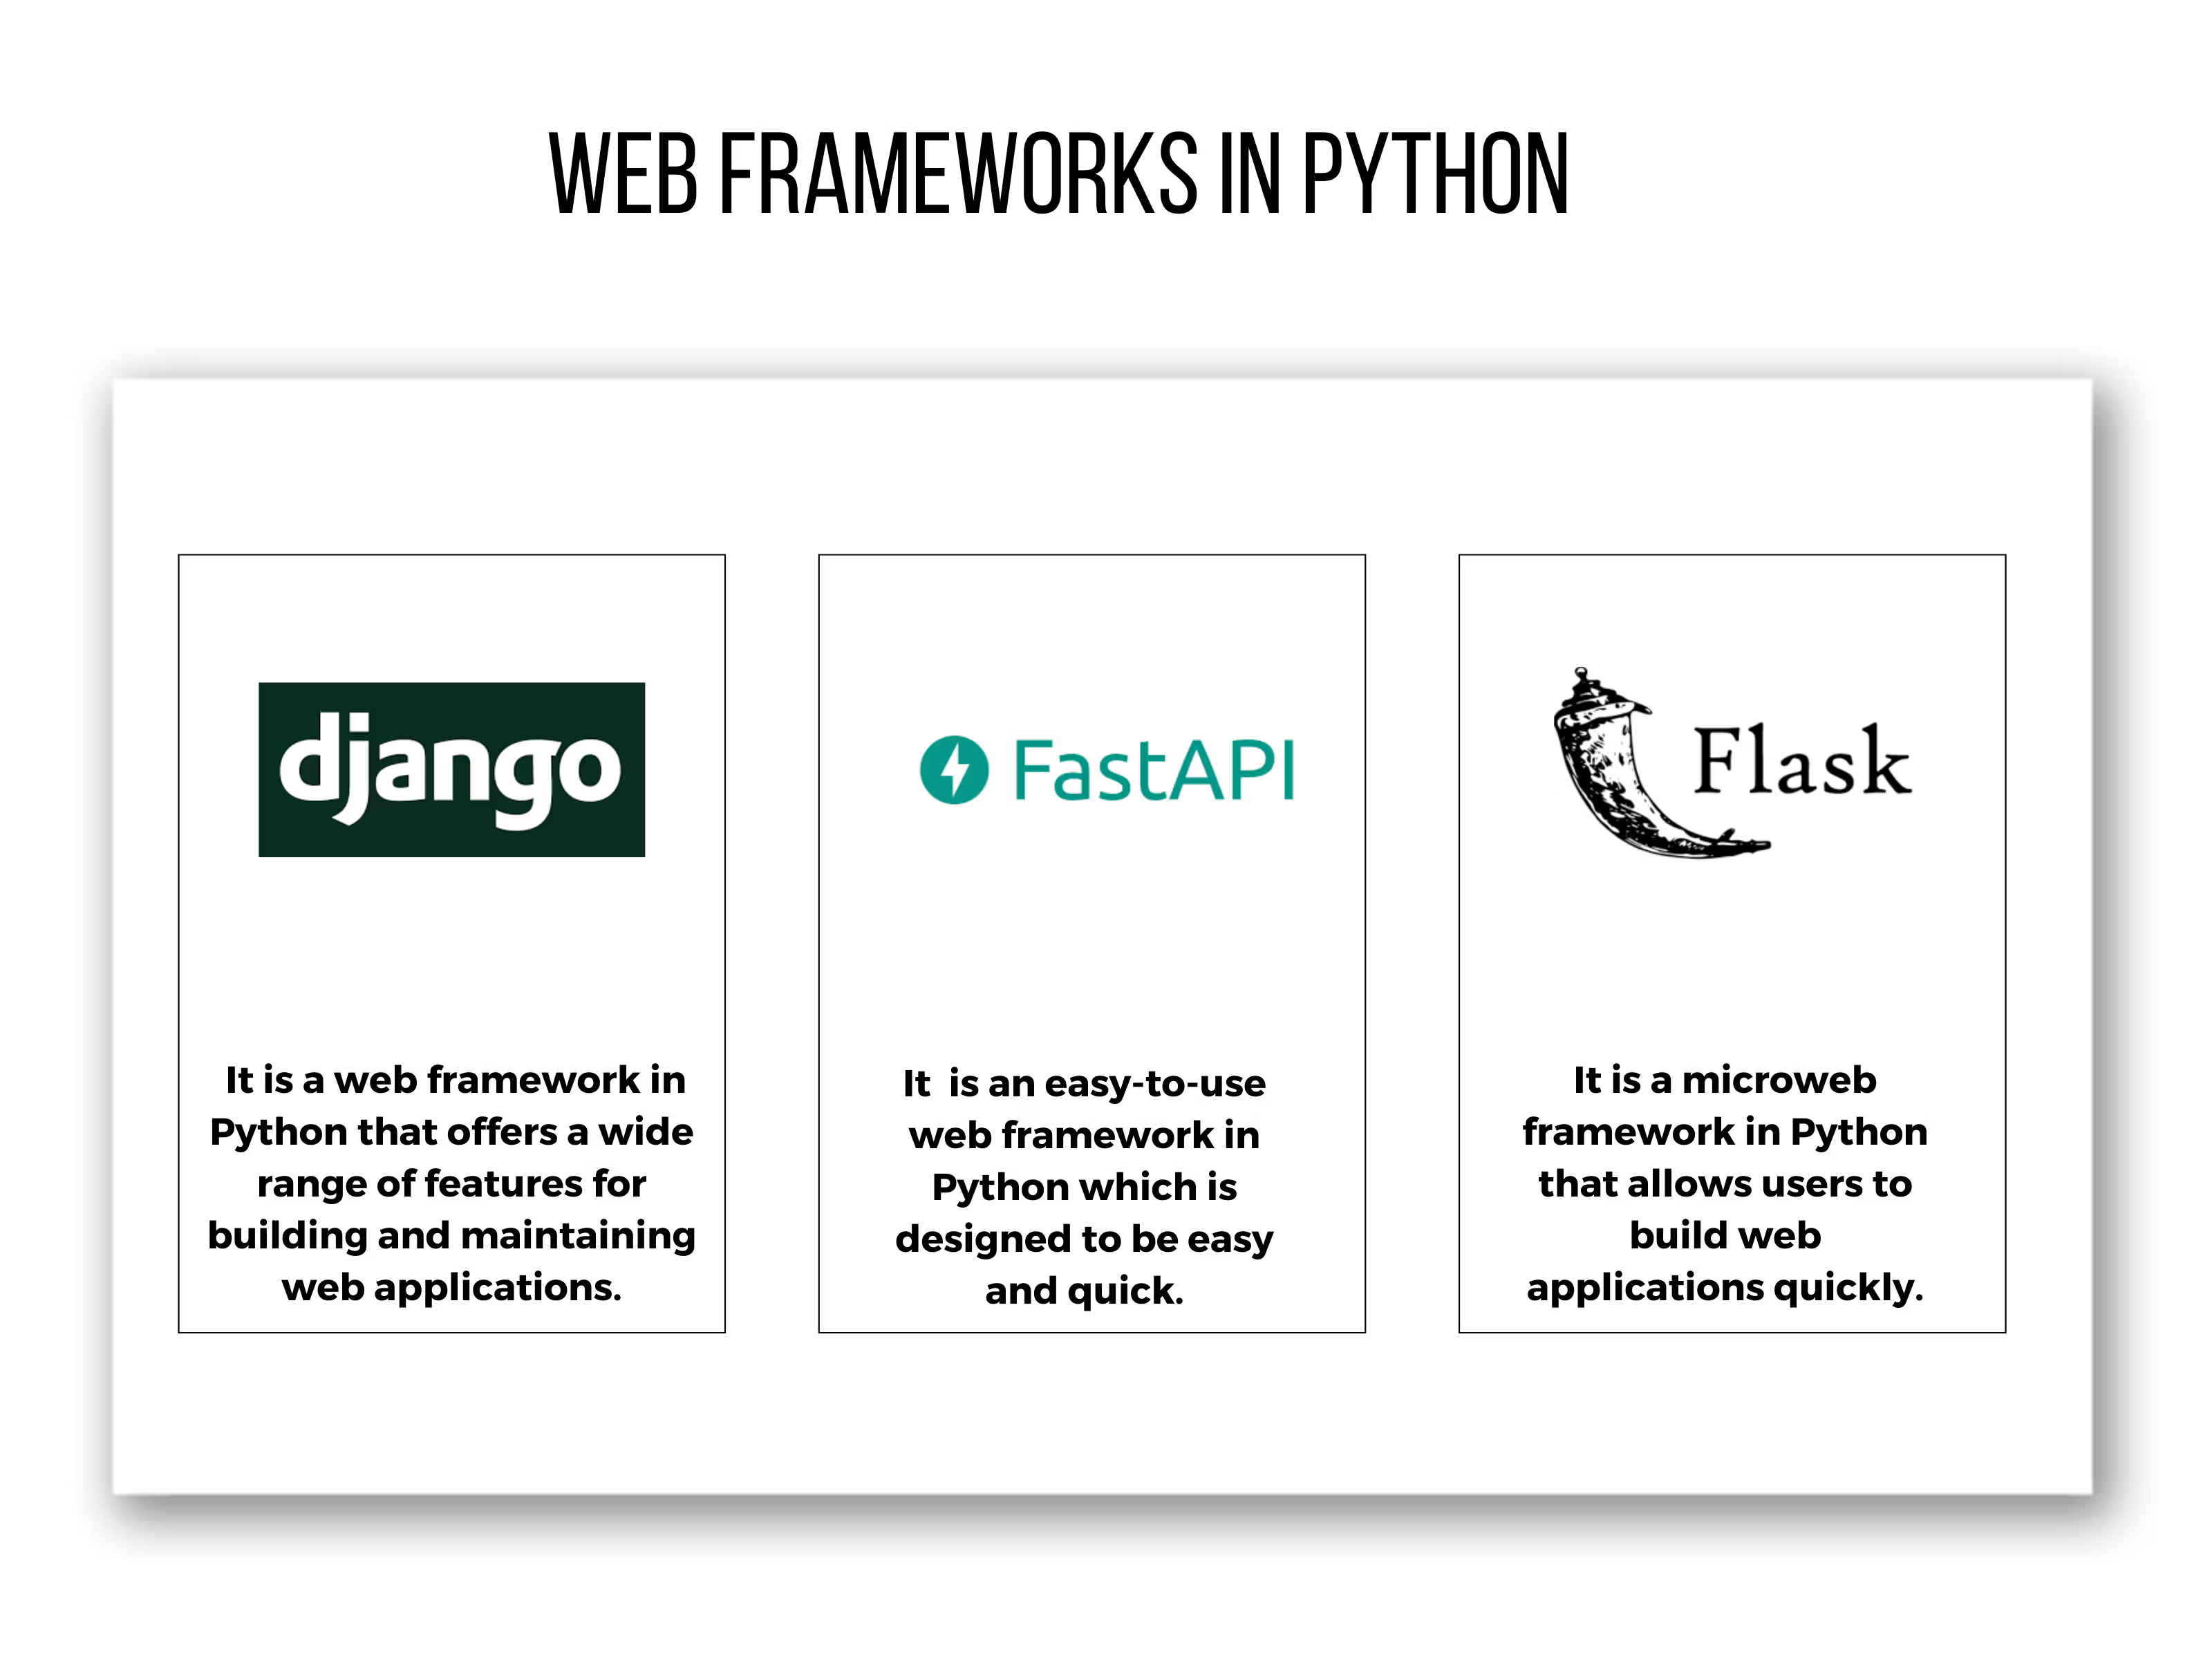
django is a Python web framework that is well-suited for data scientists who want to build scalable, secure, and extensible web applications.
It provides a wide range of functions for building applications.
Django follows the Model-View-Template (MVT) architectural pattern and provides a collection of ready-to-use components for common web development tasks.
Some of its core features include URL routing, authentication, a customizable admin interface, database management, form handling, and a template engine.
Some of the key features of Django that make it well-suited for data scientists include scalability, security, extensibility, documentation, and community.
Here is the official web page of django.
This is what django’s app structure looks like.
myproject/
├── myproject/
│   ├── __init__.py
│   ├── asgi.py
│   ├── settings.py
│   ├── urls.py
│   └── wsgi.py
├── app1/
│   ├── __init__.py
│   ├── admin.py
│   ├── apps.py
│   ├── migrations/
│   ├── models.py
│   ├── tests.py
│   ├── urls.py
│   └── views.py
├── static/
│   ├── css/
│   ├── img/
│   └── js/
└── templates/
    ├── app1/
myproject is the main directory of the django project. It includes the main Python scripts that define the Django project.
- myproject/ is the directory that contains the configuration and settings for the Django project
- __init__.py is an empty script that tells Python that this directory should be treated as a Python package
- asgi.py is a script that defines ASGI application (Asynchronous Server Gateway Interface) for serving this project. ASGI is a specification for building asynchronous web applications.
- settings.py is a script that defines the settings and configurations. It contains database settings, installed apps, and more.
- urls.py is a script that defines the URL patterns for the django project.
- wsgi.py is a script that defines the WSGI (Web Server Gateway Interface) application for serving the django project. It is another specification for building web applications in Python.
- app1/ is a django application that is part of the project. It has a set of Python modules that define the models, views, and URLs for the application
- __init__.py is an empty Python script that tells Python this directory should be treated as a Python package.
- admin.py is a script that defines a django admin interface for the application.
- apps.py is a script that contains application-specific configurations.
- migrations/ is a directory that contains django database migration files.
- models.py is a script that defines django models for the application. Models represent the data in the application and define the fields and relationships between data.
- tests.py is a script that contains unit tests for the application.
- urls.py is a script that defines the URL patterns for the application. It maps URL patterns to views.
- views.py is responsible for handling the logic of the application and determining what to do with a given request. This can include interacting with the database, rendering templates, or performing other tasks.
- static/ directory contains the assets like images, stylesheets, and Javascript files.
- app1/ is a django application that is part of this project.
FastAPI

FastAPI is indeed a high-performance web framework designed specifically for building APIs with Python. It is built on top of Starlette for the web parts and Pydantic for the data validation, which makes it both fast and efficient.
Some of its notable features include type hinting, asynchronous support, dependency injection, OAuth2 integration, OpenAPI and JSON Schema, and a test client.
FastAPI is an excellent choice for data scientists who want to build modern, high-performance APIs with minimal boilerplate code. It is particularly well-suited for machine learning and artificial intelligence projects that require fast, efficient, and scalable API endpoints to serve predictions or perform complex data processing tasks.
Here is the official web page of FastAPI.
Now, let’s go through the FastAPI structure.
myapp/
├── static/
│   ├── css/
│   ├── img/
│   └── js/
├── templates/
│   └── index.html
├── app.py
└── requirements.txt
- myapp/ is the main directory of your FastAPI application. It includes all the other files and directories needed for the application.
- static/ is a directory used to store static assets such as CSS, JavaScript, and image files. These assets are served directly by the web server and are typically used to add visual styling and interactivity to the application.
- css/, img/, js/ are subdirectories used to store specific types of static assets – CSS, image, and JavaScript files, respectively.
- static/ is a directory used to store static assets such as CSS, JavaScript, and image files. These assets are served directly by the web server and are typically used to add visual styling and interactivity to the application.
- templates/ directory is used to store templates for rendering HTML pages. FastAPI uses a templating engine called Jinja2 to render HTML templates, and these templates are typically stored in the templates/ directory.
- app.py is the main Python script for your FastAPI application. It is the entry point for the application and contains all the code for defining the routes, handling requests, and returning responses.
- requirements.txt file is used to specify the Python packages that your application depends on.
Flask

Flask is a micro web framework for building web applications with Python. Here is the official web page of Flask.
It is known for its simplicity, flexibility, and minimalistic approach.
Some of its key features include a minimalistic core, URL routing, a template engine, extensibility, a built-in development server, and RESTful request dispatching.
Flask is an excellent choice for data scientists who want to build small to medium-sized web applications or APIs with a high degree of customization and control.
Now let’s look at the Flask app structure.
├myapp/
├── static/
│   ├── css/
│   ├── img/
│   └── js/
├── templates/
├── app.py
├── model.py
├── requirements.txt
We won’t go into detail here since you are already familiar with the general structure of the frameworks.
Just a general overview:
The static directory includes stylesheets, images, and javascript files.
The templates directory contains HTML templates of the web application you want to build.
app.py will be your main script that runs the Flask application.
model.py includes a machine-learning mode that your application will use.
Now, the example to see how web frameworks work in practice.
Building a Web Application in Flask For Predicting Weight
app.py
Let’s take a look at an example of app.py for the app that predicts weight according to body measurements.
The code first imports the libraries that we will use.
First, we will import Flask for a web application. Then, we will import the request to access the data from an HTTP request. Additionally, we imported render_template to be able to render HTML templates.
And also pandas to manipulate the data and joblib to load the machine learning model we already defined.
from flask import Flask, request, render_template
import pandas as pd
import joblib
Then we create an instance of Flask class and assign it to the app variable.
app = Flask(__name__)We define a route by using the get and post methods afterward. That means that the route can be accessed using either HTTP methods.
@app.route('/', methods=['GET', 'POST'])
After that, we will use the main function, which is called when the route is accessed.
Next, we will check if the request is a post, meaning the form has been submitted.
The request.method attribute is checked to see if it is equal to "POST". If it is, this means that the form has been submitted, and the code inside this block will be executed.
#Check if a form is submitted
if request.method == "POST":
The joblib.load() function is used to load the previously saved machine learning model (in this case, a regression model) from a file.
#Load the machine learning model from a file:
regr = joblib.load("/home/gencay/mysite/regr.pkl")
The request.form.get() function retrieves the values entered by the user in the form input fields. The values are stored in the corresponding variables: Abdomen, Age, Neck, Hip, and Thigh.
# Get values entered by the user in the form input fields:
Abdomen = request.form.get("Abdomen")
Age = request.form.get("Age")
Neck = request.form.get("Neck")
Hip = request.form.get("Hip")
Thigh = request.form.get("Thigh")
A new pandas DataFrame is created using the user-inputted values as a single row. The column names of the DataFrame match the input field names: "Abdomen", "Age", "Neck", "Hip", and "Thigh".
#Create a pandas data frame with a single row and five columns:

X = pd.DataFrame([[Abdomen, Age, Neck, Hip, Thigh]], columns = ["Abdomen", "Age", "Neck", "Hip", "Thigh"])
The predict() function of the loaded regression model is used to predict the user's weight based on the input data. The predicted weight is then rounded to two decimal places using the round() function.
#Use the predict function to predict the user's weight:
predict = round(regr.predict(X)[0],2)
The predicted weight in kilograms is converted to pounds by multiplying it by 2.2. The converted weight is then rounded to two decimal places.
#Convert the weight from kilograms to pounds and round to two decimal places:
predict_lbs = 2.2 * predict
predict_lbs = round(predict_lbs,2)
A string is created that contains the predicted weight in both kilograms and pounds. This string will be displayed to the user as the prediction.
#Create a string to display the prediction:
prediction = "Your estimated weight is : " + str(predict) + " kg" + " (" + str(predict_lbs) + " lbs" ") "
If the request method is "GET", it means the form has not been submitted yet, and no prediction has been made. In this case, the prediction variable is set to an empty string.
#Check if the request method is GET:
else:
    prediction = ""
The render_template() function is used to render the "index.html" template and pass the prediction variable to the template. The rendered template is then returned to the user.
#Render the template and pass the prediction variable:
return render_template("index.html", output = prediction)
The application is run using the waitress package, which serves the Flask app on the specified host and port. This is executed only if the script is run as the main module.
#Run the application:
if __name__ == "__main__":
    from waitress import serve
    serve(app, host="0.0.0.0", port=8080)
Here is the complete code from app.py.
   # If a form is submitted
    if request.method == "POST":

        # Unpickle classifier
        regr = joblib.load("/home/gencay/mysite/regr.pkl")

        # Get values through input bars
        Abdomen = request.form.get("Abdomen")
        Age = request.form.get("Age")
        Neck = request.form.get("Neck")
        Hip = request.form.get("Hip")
        Thigh = request.form.get("Thigh")


        # Put inputs to dataframe

        X = pd.DataFrame([[Abdomen,Age,Neck,Hip,Thigh]], columns = ["Abdomen","Age","Neck","Hip","Thigh"])

        # Get prediction

        predict = round(regr.predict(X)[0],2)

        predict_lbs = 2.2 * predict

        predict_lbs = round(predict_lbs,2)

        prediction = "Your estimated weight is : " + str(predict) + " kg" + " (" + str(predict_lbs) + " lbs" ") "


    else:
        prediction = ""

    return render_template("index.html", output = prediction)

if __name__ == "__main__":
    from waitress import serve
    serve(app, host="0.0.0.0", port=8080)
model.py
Here is the script from model.py, which creates a file that contains your machine learning model at the end of the script. The code uses the joblib library to save the trained Linear Regression model to a file called "regr.pkl" in the specific location.
df3 = pd.read_csv("/home/gencay/mysite/bodyfat.csv")
df3.Weight = df3.Weight / 2.2
df3.Height = df3.Height * 2.54

df3 = df3[df3['BodyFat']<40]
df3 = df3[df3['Hip']<120]


y = np.asanyarray(df3['Weight'])
x = np.asanyarray(df3[['Abdomen','Age','Neck','Hip','Thigh']])
regr = linear_model.LinearRegression()
regr.fit(x, y)


joblib.dump(regr,"/home/gencay/mysite/regr.pkl")
templates/
Here is the template, including the index.html of my page. No need to explain this in detail since it is not our topic for this article. It’s simply here for designing this web page.
<!DOCTYPE html>
<html>
    <head>
        <meta charset="UTF-8">
        <meta name="viewport"
              content="width=device-width, user-scalable=no, initial-scale=1.0, maximum-scale=1.0, minimum-scale=1.0">
        <meta http-equiv="X-UA-Compatible" content="ie=edge">
        <link rel= "stylesheet" type= "text/css" href= "{{ url_for('static',filename='styles/mainpage.css') }}">
        <link rel="preconnect" href="https://fonts.googleapis.com">
        <link rel="preconnect" href="https://fonts.gstatic.com" crossorigin>
        <link href="https://fonts.googleapis.com/css2?family=M+PLUS+1:wght@300&display=swap" rel="stylesheet">
        <title> Web App </title>
    </head>
    <body style="background-color:powderblue;">
        <div class = "title">
            <h1 >WEIGHT PREDICTION APPLICATION</h1>
        </div>
        <p style="text-align:center;"><img  src="https://www.microlife.com/uploads/media/600x600/05/2715-WS%20200%20BT_half.png?v=2-0" width="200" height="200" class = "center">

        <div class = "page">
            <!---Containerize paragraph and form for styling--->
            <div class = "container">
                <div class = "intro">
                    <b>
                    <form name="form", method="POST", style="text-align: center;" novalidate>
                        <br>
                        <input type="number" step="0.01" name="Abdomen", placeholder="Enter your abdomen in cm" required/>
                        <br><br>
                        <input type="number" name="Age", placeholder="Enter your age" required/>
                        <br><br>
                        <input type="number" step="0.01" name="Neck", placeholder="Enter your neck in cm" required/>
                        <br><br>
                        <input type="number" step="0.01" name="Hip", placeholder="Enter your hip in cm" required/>
                        <br><br>
                        <input type="number" step="0.01"  name="Thigh", placeholder="Enter your thigh in cm " required/>
                        <br><br>
                        <button value="Submit">Predict</button>
                    </form>
                        <div class ="pred">
                            <p class = "result"><b>{{ output }} </b></p>
                </div>
            </div>
        </div>
    </body>
</html>
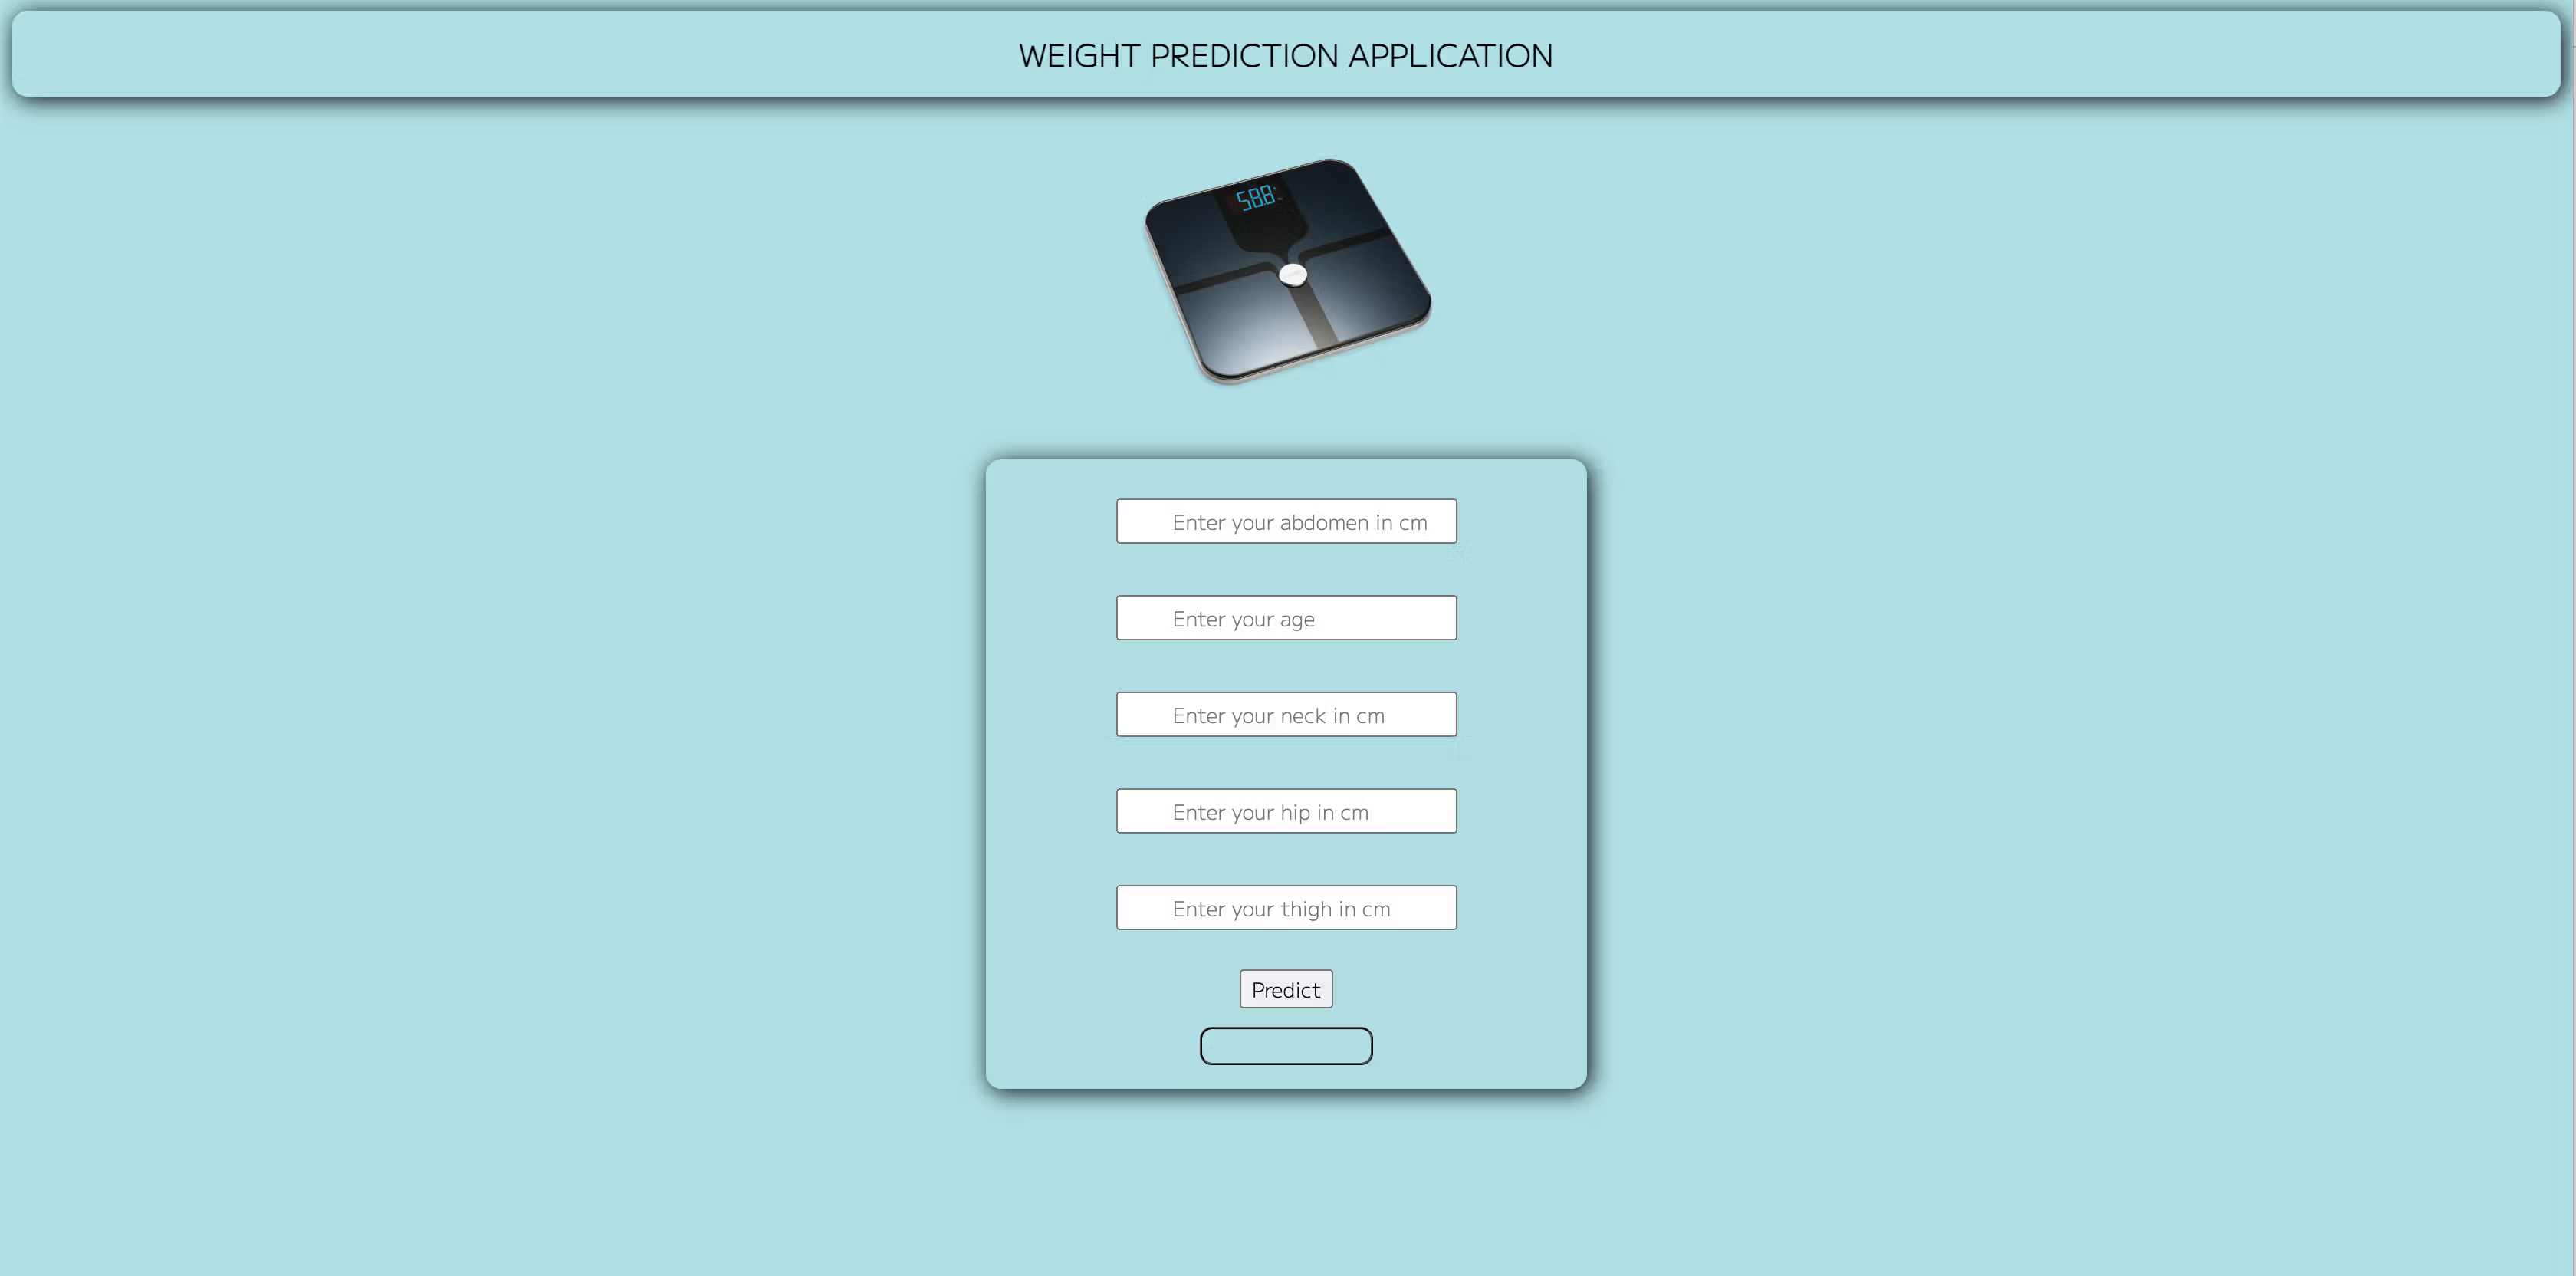
The web application looks like this.
Conclusion
In this article, we discussed the three most popular web frameworks for Python.
Developing your own model using web frameworks will be the final part of the project, allowing you to show your project to the global environment. From this article, you got the structure of the main web frameworks and an example in Flask.
You can develop your own web application by placing the same structure in your environment.
Share
